
Order Information module > SIT/Recurring Billing tab > Recurring Billing section > Payment Setup tab
Revenue Entry module > SIT/Recurring Billing tab > Recurring Billing section > Payment Setup tab
This guide provides a step-by-step process for setting up Automatic Payments for Recurring Billing. An Automatic Payment is a payment that is automatically paid when a recurring billing invoice is generated. The payment is charged against is the Payment Method set within the Payment Setup tab.
NOTE: For more instructions on the AutoPay Setup and options withing AutoPay Setup, see AutoPay Setup (Recurring Billing). This topic also illustrates what happens when different options are selected or not selected as there are numerous combinations within the Billing Record tab and Payment Setup (AutoPay Setup section) that affect recurring billing.
1. From the SIT/Recurring Billing tab (found within the Order Information and Revenue Entry modules,) click Edit.
2. First, at the bottom of the SIT/Recurring Billing tab and within the Recurring Billing section, enter an email address if one isn't entered already. This is the email address where the "Email AutoPay Receipt" will be sent. By default, the "Email AutoPay Receipt" option is checked.

3. Check Use Online Payment. This is the backup plan should the Payment Method fail. If the Payment Method fails for whatever reason, checking this option will automatically send an email with a secure payment link to the email address for payment according to the Online Payments process. Should the Customer receive an email prompted from this option, they may have two options:
•If the Customer checks the "Keep Payment for future invoices" option, that payment information will be the new Payment Method and the process will continue as an Automatic Payment.
•If the option is not checked, the process converts to an Online Payment process, where the Customer receives an email with the payment link for payment.

4. Now, select a Payment Method. Having a Payment Method set is what tells the system to proceed as an Automatic Payment. Click the Payment Method dropdown to see if the option the Customer wishes to use for the Recurring Billing Record invoice is listed. If so, select that option and click Save (at the top of the screen.) That completes the setting up for an Automatic Payment.

5. If Payment Method only has None or the desired Payment Method is not listed, a Payment Method must be captured. Click Save to save the changes already entered and, more importantly, activate the Capture New Payment Method button. The image below the Save button has not yet been clicked; therefore, the Capture New Payment Method button is not active.

Click Capture New Payment Method. Using Capture New Payment Method within Recurring Billing will attach that information to the Recurring Billing record only. It does not attach it to the Customer. To attach it to the Customer, use the options available within the Electronic Payments Menu at the top of the screen (not shown.) For this method, the Customer will need to agree to give you the financial information for you to enter the information.

6. Next, the Capture New Payment Method screen opens. Enter the Account Nickname, Name, Billing Address, etc. Then click the Setup Account Information button.
NOTE: "Merchant Account" is the Electronic Payment Processor. Most companies utilize one; however, there may be two listed.

7. This screen will pop up. Do not click on this screen yet. Read the message and note that the button is clicked after the next step, the Electronic Capture Processing Page, is completed or cancelled. Meanwhile, the process will automatically open the Electronic Capture Processing Page.

8. Enter the information required on the Electronic Capture Processing Page. Click the button at the bottom to process the capture. Of note, this webpage will look different depending on up the Web Page Around Hosted Page (tab) setup for your company and the Electronic Merchant Account used. This particular screen is for the Merchant Account named PYXiS.

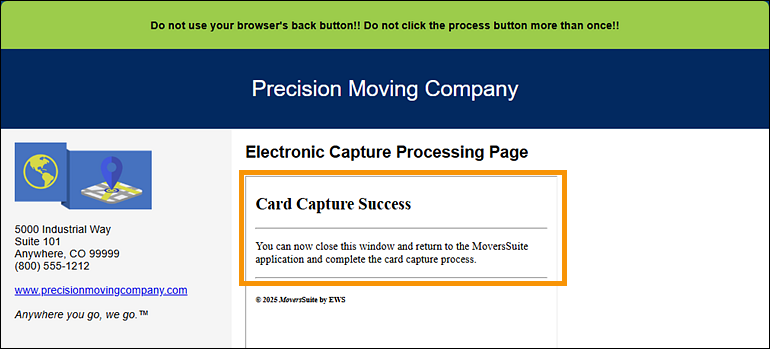
9. This shows the capture of the information was successful. Click the browser’s tab for that webpage to close as this tab is no longer needed.
10. Now press Click me after the card capture has succeeded or been canceled.

11. Now the information just captured defaults to show within the Payment Method field; therefore, it is the Payment Method that will be used for the Automatic Payment. The process to set up this Automatic Payment is complete. Note the Status (in green font) will explain exactly what the process will be for the options selected.
