
The Report Manager allows users to add custom Reporting Services reports or to update existing ones. The process below describes how the Report Manager can used to upload a report file in a report server.
|
Important |
|
The files must be defined as a Report Definition Language (RDL), aka Report Definition File, file in order to be uploaded into Reporting Services. Special procedure files and related database changes that may need to accompany the file must also be in place prior to executing the report. |
Uploading Reporting Service Reports using Report Manager
1. Open a web browser, such as Microsoft Internet Explorer, from a computer that has sufficient privileges to access the company’s report server,
2. Enter the URL that opens the Microsoft SQL Server Reporting Services Report Manager application hosted on the company’s report server. Typically, the URL format is http://report server/Reports$instance/, where the red italicized settings are specific to a user’s system,
Figure 16: Sample URL to access Report Manager
The SQL Server Reporting Services screen will appear,
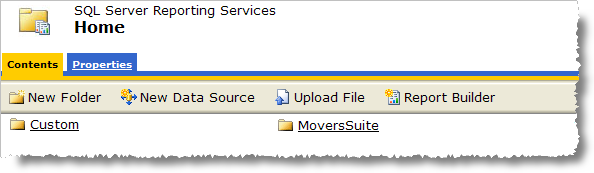
Figure 17: Report Manager screen
3. Open and access the folder in which the uploaded report will reside. Note: The New Folder option can be used to create a separate locale for reports,
4.
Click on Upload File ( ) and
the Upload File screen will appear,
) and
the Upload File screen will appear,
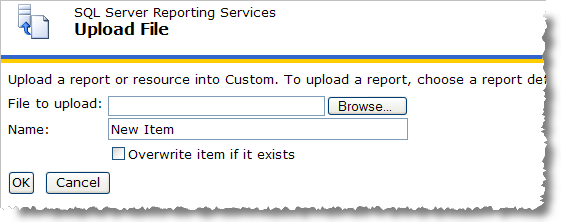
Figure 18: Upload File screen
5. Press Browse to locate the RDL file using the Choose File utility,
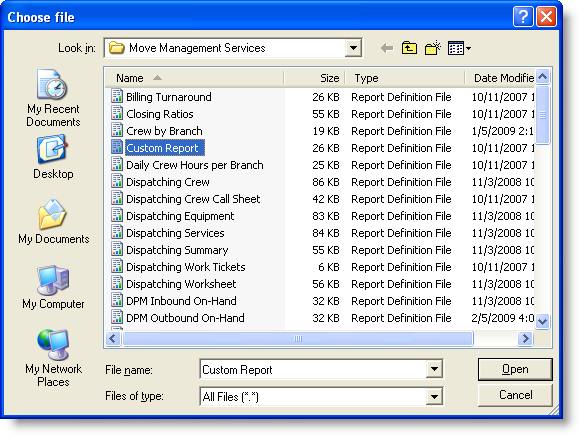
Figure 19: Choose File window
6. Select the correct report and press Open and the file name will be painted in the File to upload field,
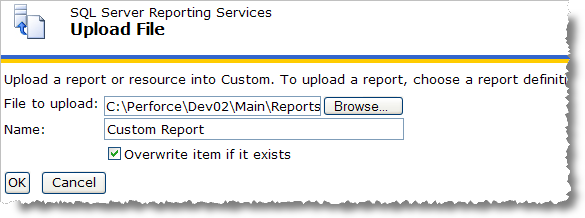
Figure 20: Report Manager Upload File screen
7. Select the Overwrite item if it exists. This option instructs the application to replace an existing version of the report existing in the report server,
Important:
If this option is not selected and the report already exists on the server then the new file will not be uploaded.
8.
Press OK and the report will be inserted into the open folder.
Reports inserted into the report server since the last server update will be
flagged with a  flag,
flag,
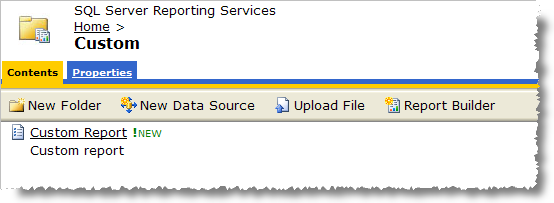
Figure 21: New report sample
Verify the report properties:
9. Click on Show Details and the screen will display the Edit options,
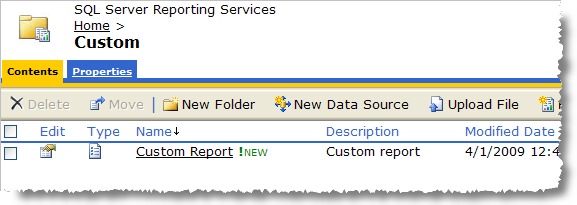
Figure 22: Show Details
Tip:
Using the Show Details option will enable the Delete and Move options.
10.
Press Edit ( ) to access the
report Properties,
) to access the
report Properties,
Make adjustments within the General, Parameters, Data Sources settings as needed.
Important:
Press Apply on each screen to ensure that the changes are committed.
Often a new report will need to have the data source updated in order to view the report. A report with an invalid data source will return the following error when viewed: “The report server cannot process the report. The data source connection information has been deleted. (rsInvalidDataSourceReference)”
Update a data source:
a. Open the Properties tab,
b. Select Data Sources option,
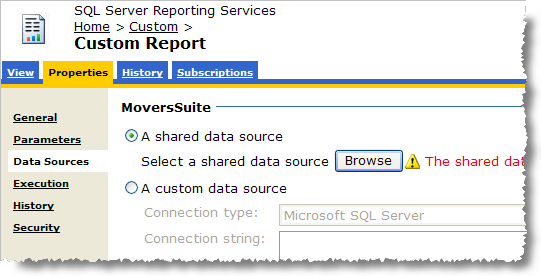
Figure 23: Data Sources > A shared data source setting
c. Check the A shared data source option,
d. Press Browse and the screen will list the directory of the report server,
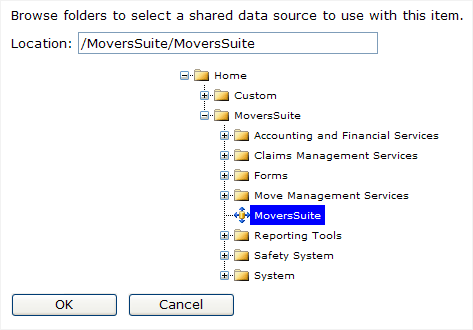
Figure 24: Data source selection
e.
Select the appropriate data source (denoted by  ),
),
f. Press OK and the selected data source will appear as the shared data source,
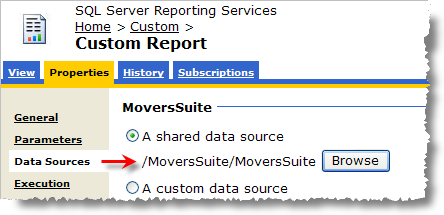
Figure 25: Specified data source
g. Press Apply (bottom of screen) to commit the changes. The report will now reference this data source when executed.
11.
Click on the View tab to execute the report and view its
output.
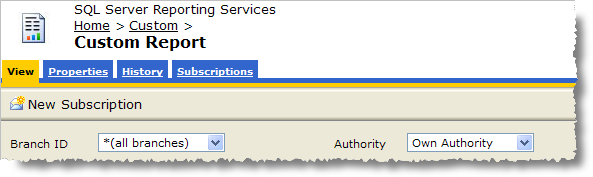
Figure 26: View tab
Reports loaded into the report server will be accessible to MoversSuite. Refer to the Reports Setup and Administration section to understand how to link a Reporting Services report to a MoversSuite menu item.
Report Manager Image File Upload
Several standard reports reference images for a branch and van line. These reports include the following:
The following procedures describe the options that enable this functionality. In general, users will upload the files into Reporting Services, update the Branch Setup and Van Line Setup to point to the particular image files, and update the Invoice Properties Setup to set flags allowing the branch and/or van line images to display.
MoversSuite will use the Report Viewer to produce the output of documents including the images therefore the image files need to be loaded in into Microsoft SQL Server Reporting Services through the Report Manager and specifically into the application folder titled “System”.
The Report Manager is part of the Reporting Services product base and allows an administrator to interact with the report server and perform tasks such as uploading report and image files, set the database pointer, and execute and view reports.
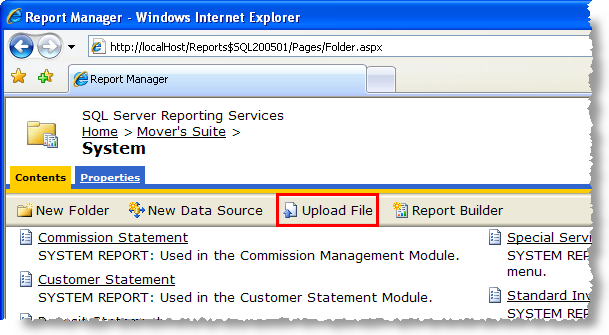
Figure 28: Upload File option in Report Manager
Use the Report Manager to update company and van line images into the System folder.
Uploading an image file using Report Manager
1. Open the Microsoft SQL Server Reporting Services Report Manager application using a URL that points to the service executing on a report server through a web browser. An example of the URL format is http://report server/report instance/,
2. Access the folder that contains the report documents used by the MoversSuite application,
3. Click on System to open the folder (typically Home > MoversSuite > System). The image file will need to be uploaded to the same folder as the documents that will be referencing it. For example, the standard Customer Statement document exists in the System folder therefore the image file must be in this same folder. Note: If the image file is uploaded into a different folder than that of the report document, then the application will be unable to render the image,
4. Click on Upload File,

Figure 29: Upload File page in Report Manager
5. Click on the Browse… button to use the Choose File dialog to locate the image file to upload,
6. Once the File name is set within the Choose File dialog press the Open button. Note: The File to upload field will be updated along with the Name field once a file is selected,
7. Choose to Overwrite item if it exists to purge an existing document with the same name. Important: If the Overwrite item if it exists option is not on (checked) and a document with the same name is found in the report server, then new file will not be uploaded,
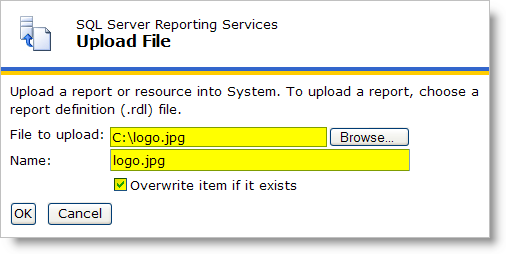
Figure 30: Sample file and name for an upload file
Tip:
Use the Report Manager search utility to locate existing files by their Name, including report and image files. The search utility is located in the upper right-hand corner of the Report Manager window.
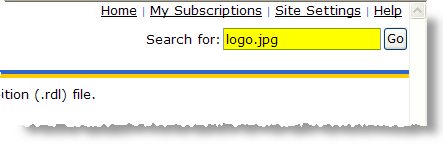
Figure 31: Report Manager search feature
8. Press the OK button from the Upload File page to perform the upload,
9. Repeat Steps 4 through 8 to upload other files into the report server.
The image file will be visible within the System folder and will be available to be referenced by documents rendered through Microsoft SQL Server Reporting Services.
Successfully uploaded images will list along with all existing files stored within the report server.
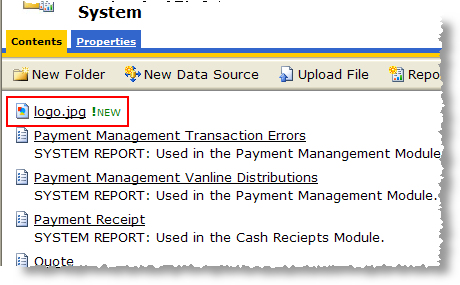
Figure 32: Uploaded image file
Tip: Clicking the file name will display the contents of the image file to the screen.
Making a image available to branch and van lines documents
The second step needed to add images to branch and van line documents is update the Image URL field for each branch and van line record.
Update the Image URL field to reference an uploaded image file
Set the branch image reference:
1. Open the MoversSuite Administration (web),
2. Click on Common > Branch Setup,
3. Select a Branch from the available list,
4. Press Edit to update the branch data,
5. Enter the Image URL as the name of the image document uploaded into Microsoft SQL Server Reporting Services. The name that the file assigned to the image when it was uploaded is what will need to be entered here, character for character. Case lettering of the Image URL is ignored, therefore “logo.jpg” is treated the same as “LOGO.jpg”,

Figure 33: Image URL field within Branch Setup
6. Press Save to keep any changes made,
7. Repeat Steps 3 through 6 to assign an image file to other branches,
Set the van line image reference:
8. Open the MoversSuite Administration (standard),
9. Locate and open the MMS > General > Van Line setup folder,
10. Select a van line by Van Line ID,
11. Enter the Image URL as the name of the image document uploaded into Microsoft SQL Server Reporting Services,
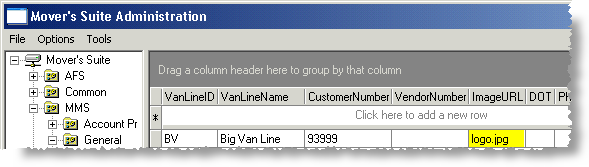
Figure 34: Image URL field within Van Line setup
Note:
If the Image URL field is not listed, then add it by right-mouse clicking on the Van Line folder name, selecting New > Fields, and choosing the ImageURL field from the pop-up windows listed. Press Add to close the window and add the field to Van Line Setup.
12. Press the TAB key through the remaining record values to keep the change made to the Image URL field. Note: The van line referenced for the imaging is that assigned to the branch. Refer to the MoversSuite Administration - web > Common > Branch Setup > Van Line field,
13. Repeat Steps 10 through 12 above steps to assign image files to other van line records.
Turning on the branch and van line image functionality
So far in this process, an image file has been loaded into the report server and the branch and van line records have been updated to reference the uploaded image file. The last step is to set flag(s) for each report document to include the image.
Turning on branch and van line imaging for a document
1. Open the MoversSuite Administration (standard),
2. Open the AFS > Invoice > Invoice Properties setup folder,
3. Select a report document from the list of Report Name values,
Note: Only certain report documents have been designed to display the branch or van line image. Contact MoversSuite to find out more about adding images to other documents.
4. Place a check in the column to Include Branch Image and/or Include Van Line Image for the selected report document,
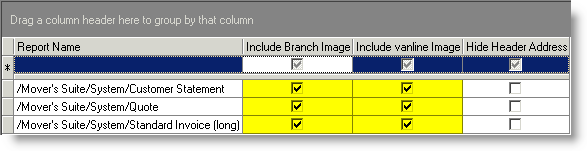
Figure 35: Include image options within Invoice Properties
5. Press the TAB key through the record to keep the changes,
6. Repeat Steps 3 through 5 to enable other report documents to display the branch or van line image.
If the Include Branch Image or
Include Van Line Image is on and a branch or van line image has not been
loaded into the report server, then an image rendering error icon ( ) will appear in its place.
RELATED TOPICS: